Ediction
Writing the Edicts - The Foil Effect
Hi! This is Maurimo, I did the programming, UI/UX and some other stuff for Ediction. I enjoy using Ren'Py to make cool and strange visuals, involving UI screens, shaders, and more stuff. I made Ediction with gyrium, who did all the writing and illustration. We also have a lot of overlap on our work, so we both get to enjoy various aspects of development! One of them being visuals!
Ediction is full of little technical art tidbits that I'd love to share, so I decided to start writing some short devlog posts called 'Writing the Edicts' where I'll be walking you through how I made those, with some visual guides and code along the way!
The Foil Effect
In Ediction, sometimes you'll see a few memories along the way from people in your past, which is signified by the screen obscuring and a small sprite of them appearing to the left side of the screen. Have you noticed that if you move your mouse, the highlights in their sprite will shine, similarly to a gold foil effect?
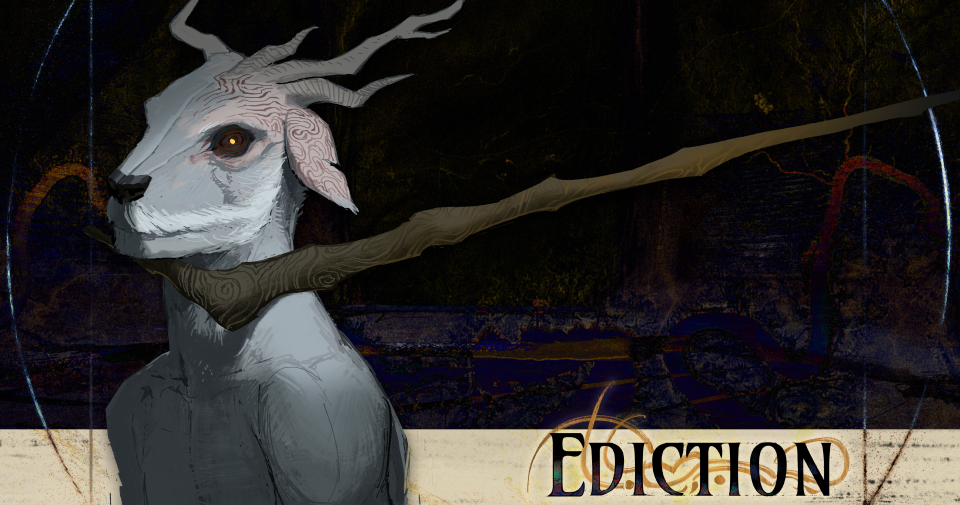
The effect is also visible in Hermeto's sprite! A variation of it is also visible in various other elements.
This effect is done via the magic of AlphaMask, Transform functions, and the At() wrapper. Let's quickly walk through this effect, using Confessor Zaid as our example.
1. Mask out the elements in your sprite that you want to highlight
First, get your sprite/image that you want this effect in, and mask out the areas that you want to be affected by the effect. To do these, I turned the image into greyscale, and played with the 'Levels' adjustment to get a really high contrast B/W image. Then, I just removed the black background from it, and there's a mask!
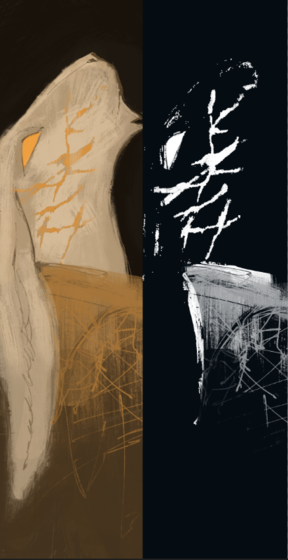
I added the black background to this, but the final texture should be transparent.
2. Set up a foil texture
Now, create a greyscale foil texture to sit on top of the mask. I made the following one in Clip Studio Paint, trying to make it look like some metallic embelishments, in a way that would fit gyrium's art.
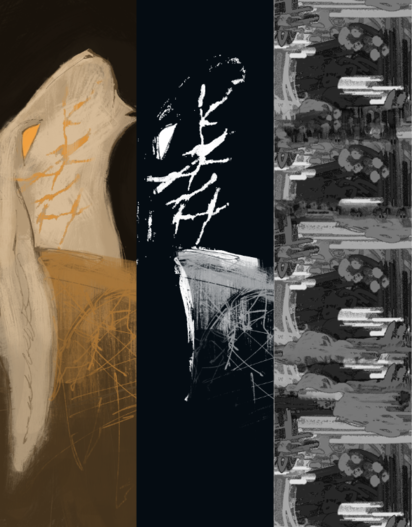
3. Use a transform function to invert the values and move the texture with mouse movement.
Next up, using lerp and inverse lerp, we invert the values and move the texture. Basically, we use lerp to get a value that says that if we're at the left side of the screen, it goes to -1, if we're at the right, it goes to 1. And we interpolate the matrixcolor and position with this value, to make our effect happen.
def inv_lerp(a, b, v) -> float:
        """Inverse Linear Interpolation, get the fraction between a and b on which v resides.
        Examples
        --------
            0.5 == inv_lerp(0, 100, 50)
            0.8 == inv_lerp(1, 5, 4.2)
        """
        return (v - a) / (b - a)
def lerp(a: float, b: float, t: float) -> float:
        """Linear interpolate on the scale given by a to b, using t as the point on that scale.
        Examples
        --------
            50 == lerp(0, 100, 0.5)
            4.2 == lerp(1, 5, 0.8)
        """
        return (1 - t) * a + t * b
# The transform function
def foil_shift_function(trans, st, at):
        x, y = renpy.display.draw.get_mouse_pos()
        val = (x - config.screen_width / 2) * .7 + (y - config.screen_height / 2) * -.5
        val = val / 2
        trans.matrixtransform = OffsetMatrix(val * .05, val * .05, 0)
        ## Approximately the values I got from the left side and right side of the screen
        val = inv_lerp(-216.0, 216.0, val)
        trans.matrixcolor = InvertMatrix(val)
        return 0
# This is the transform to the foil texture.
transform foil_shift:
    function foil_shift_function
Set these up in your script, and if you use the foil_shift transform on your foil texture, it'll look something like this:
We are getting somewhere!
4. Use the mask you made with AlphaMask and At() to make sure the effect only shows up where you want it
Next, use AlphaMask() and At() to both mask out your image, and still show the foil texture with the foil_shift transform you made. Like this:
image masked_foil = AlphaMask(At("foil_texture", foil_shift), "foil_mask")
Look at that mask in action!
5. Overlay the masked foil on top of your image, and there you go!
Now, just show the masked foil image on top of your base, and you have the effect! You can also add in a ColorizeMatrix(), and make the blend mode additive so that it _really_ glows. Here's the script I used for this:
label foil_test:
    show memory_zaid
    show expression AlphaMask(At("foil_texture", foil_shift), "memory_zaid_mask"):
        alpha 0.6
        matrixcolor ColorizeMatrix("#8f5615", "#f0db98")
        blend 'add'
And that's it! Now you got your foil effect ready! Thank you for reading this post, and hopefully it comes in helpful for you. If you have any further questions, let me know as I'd be happy to answer!
If you have played Ediction and you liked it, please leave us a rating and a comment! It's very helpful, and we'd love to hear you out. And if you haven't... then go do it, if you'd like! Also, take a look at our Bluesky, where we'll be posting updates about Ediction, and our longer-running project, WHODUNNIT?. It has a lot of cool UI effects, and a bunch of other stuff going on for it! Take a look!
WHODUNNIT? is a mystery game in the vein of Ace Attorney about finding out who you hooked up with in yesterday's party. It's gonna be a wild ride! Keep up with development in our Bluesky account!
Thank you so much for your support, hope this is useful for you, and see you in the next post!
Leave a comment
Log in with itch.io to leave a comment.